You clicked this because you want crisp hits, liquid waves, and those delicious slow-mo moments that lock to a dubstep drop. Here’s the realistic promise: you’ll learn what dubstep dance actually is, how to train it the right way, and how to put moves together so you don’t freeze when the bass hits. You won’t master it in a day, but you will finish with a plan you can stick to, songs to practice with, and combos that look clean on camera or on a Melbourne jam floor.
TL;DR: What Dubstep Dance Is and What You’ll Learn
- Dubstep dance blends popping, animation, glides, and liquid control to match 140 BPM music with a half-time feel (the drop hits on 1 and 3).
- Start with body isolations, pops (hits), waves, dime stops, and foot glides; build control first, then speed.
- Train musicality in layers: pulse, accents, textures (growls/screeches), then silence. Less movement, more intention.
- Use a 30-20-10 drill block: technique drills (30 min), musicality (20), combo filming (10). Three days a week works.
- Common pitfalls: rushing the beat, overfilling the drop, stiff shoulders, no breath. Fix with micro-bounces, breath cues, and clean resets.
Step-by-Step: Build Your Dubstep Foundations
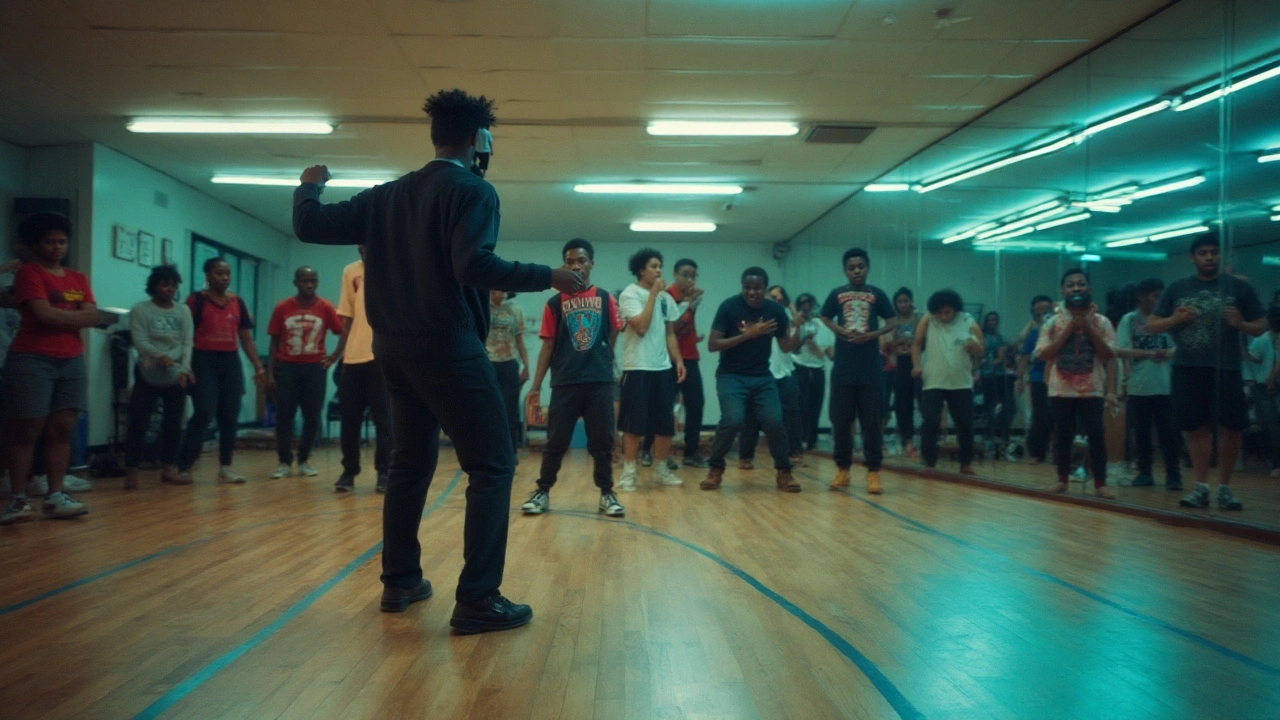
Quick context so your body knows what it’s listening to. Dubstep (early 2000s, South London) sits around 138-142 BPM but often grooves in half-time. That’s why big moves land on count 1 and 3 while hi-hats chatter above. Think Skream, Benga, Rusko in the early days; then heavier, more aggressive drops arrived with Skrillex and Flux Pavilion. The dance took cues from popping, animation, tutting, and gliding-popularized online by dancers like Marquese Scott and Poppin John-and grew in street and studio scenes. Here in Melbourne, you’ll catch it at freestyle sessions, not just in classes.
Use this order. It’s how I teach beginners who want fast wins without messy habits.
-
Warm up (5-8 minutes)
- Neck, shoulders, spine rolls, hip circles, ankle rolls. Keep it dynamic, not static stretching.
- Light bounce in place to find the pulse. Count 1-&-2-&-3-&-4-& while nodding on the 1 and 3. You’re telling your body: half-time, not double-time.
-
Isolations (8-10 minutes)
- Chest forward/back/left/right on the 1 and 3; head tilts on 2 and 4. Keep hips quiet while chest moves, then swap.
- Goal: move one thing at a time. Record a 20-second clip. If you see bleed in the shoulders when only your chest should move, slow down.
-
Pops/“Hits” (10 minutes)
- Contract quads, glutes, abs, and lats in a quick snap. Imagine a tiny cough in your core. Hit on the kick or snare.
- Start with single-arm hits: 1-&-2-&-3-&-4-& (hit only on numbers). Then both arms on the snare (usually count 3 in half-time).
- Heuristic: “Sharp then soft.” Every hit needs an instant relax so the next hit has contrast.
-
Waves (6-8 minutes)
- Finger→wrist→elbow→shoulder→chest→shoulder→elbow→wrist→finger. Count 1-&-2-&-3-&-4-& across the body.
- Reverse it. Now break the wave into 4 stops to match choppy synths-this is animation texture.
-
Dime stops & strobing (5 minutes)
- Dime stop: freeze so fast it looks like a frame cut. Practice small hand paths with three sudden freezes per count: 1-e-&.
- Strobing: micro-stops along a path to mimic the “machine-gun” feel. Great for growls.
-
Glides & footwork (8-10 minutes)
- Heel-toe slides, side glides, and the classic backslide. Keep knees soft; weight stays over the standing leg.
- 4×4 Grid drill: move front/back/left/right on each count while your upper body pops on the 3. Trains independence.
-
Texture kit (5 minutes)
- Robotics (rigid joints), liquid (continuous), slow-mo (underwater), and recoil (snap back). Assign each to a sound family: kicks=hits, screeches=strobe, sub-bass=slow-mo, hats=small finger tuts.
Why this order? Control first, accent second, travel third, then texture on top. If you flip it, you’ll look busy but not intentional.
Musicality & Practice: Feel the 140 BPM, Train Smart
Most people think dubstep = fast. Not quite. It’s deep, heavy, and often sparse. That space is your canvas.
Count the grid: At 140 BPM, the drum feel is half-time-snare lands on 3. Try this:
- Groove: small bounce on every “&” (1-&-2-&-3-&-4-&). Keep it in your knees.
- Accents: big movement only on 1 and 3. Use hits or dime stops there.
- Texture: fill hats with finger tuts or micro-shoulder ticks; keep them tiny so your big accents still read.
Sound mapping: Make a quick “if-this-then-that” chart in your head.
- Kicks = chest pops or foot stomps
- Snares = dime stop or head catch
- Wobbly bass/sub = slow-mo or body wave
- Synth screech/growl = strobe/robot texture
- Silence = freeze, blink, breathe-don’t fill everything
Practice plan (3x/week, 60 minutes)
- 30 min technique: isolations, hits, waves, glides (cycle them).
- 20 min musicality: choose one track, run 3 passes: accents only, textures only, then full freestyle.
- 10 min filming: one combo to music. Watch once, pick one fix, then stop. Next session, fix that one thing.
Heuristics that save months
- 70/30 rule: 70% groove and travel, 30% tricks. Tricks hit harder when they’re rare.
- 3-2-1 breath: Inhale on the build (3), exhale on the drop (2-1). Breath anchors accents and stops shoulder tension.
- Two accents per bar: If you’re lost, land a big move only on 1 and 3. Safe, clean, musical.
- Volume-matching: Make move size match sound volume. Big sound = big move; thin hat = fingertip detail.
Evidence, quickly: Low-frequency sounds cue movement timing-handy when you’re chasing the sub. A 2013 paper in Frontiers in Psychology reported that bass frequencies improve sensorimotor synchronization (Hove et al.). A 2019 Royal Society Open Science study found we naturally lock more to lower frequencies (Cameron et al.). You feel the bass in your chest for a reason-use it.
Combos, Drills, and Real-Track Examples
Here are simple, camera-ready combos matched to well-known tracks. Use the timing notes. Keep your face relaxed; eyes help sell freezes.
Combo A: “Scary Monsters and Nice Sprites” (Skrillex) - drop section
- Counts 1-4 (build): small finger tuts tracing a box; chest wave across 2-&-3; dime stop on 4.
- Count 1 (drop): big chest hit + head catch. Step right foot out slightly.
- Count 2: slow-mo arm lift (as the bass swells), keep micro-bounce.
- Count 3: strobe hand forward 3 ticks to the screech; freeze at full extension.
- Count 4: glide left two steps on heel-toe as hats chatter; eyes follow hand.
- Loop: 1/3 big, 2/4 travel. Record and reduce one move by 30% to leave space.
Combo B: “I Can’t Stop” (Flux Pavilion) - chorus hook
- 1: Backslide (two counts) while torso leans forward; tiny head ticks on the “can’t… stop.”
- 3: Double hit (chest + right lat), then dime stop hands framing face.
- 4: Wave from left finger to right shoulder; settle into neutral so the next 1 pops.
Combo C: “Eyes on Fire (Blue Foundation - Zeds Dead Remix)” - first drop
- 1: Slow-mo reach through fog; think underwater.
- 2: Liquid wave across chest; eyes track the ripple.
- 3: Sharp hit to the snare + knee dip; hold a micro-freeze.
- 4: Side glide right two steps; arms robot-style with two strobe ticks.
Texture drill: Growl hunter (1 minute)
- Play any tune with a nasty mid-bass. Only move when the growl appears. Use strobing plus micro head ticks. Freeze on silence.
Precision drill: Snare sniper (2 minutes)
- Metronome at 70 BPM (half-time feel). Only hit on 3 (the snare). Alternate hit locations: chest, shoulder, hip, knee. Film and check recoil.
Control drill: 4-speed wave
- Wave across the body in 4 bars: bar 1 fast, bar 2 medium, bar 3 slow-mo, bar 4 strobe-segmented. Teaches dynamic control.
Freestyle prompts (use one per session)
- Travel-only: you must move at least one step per bar.
- No hands: dance with shoulders, chest, head, and feet only.
- Negative space: keep 30 cm of space between hands and body-trace around shapes.
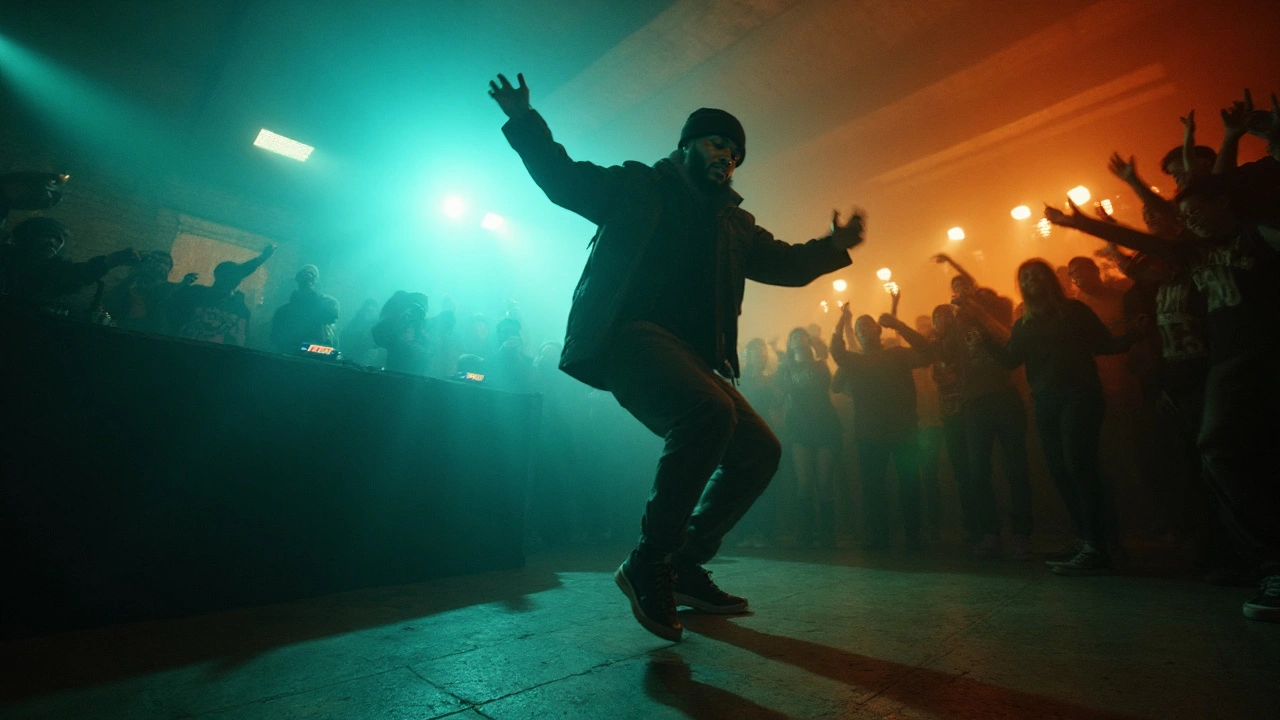
Melbourne note: If you’re local, you’ll find dubstep-friendly floors popping up in warehouse jams and open styles battles. Practice these combos in sneakers with good slide (not sticky rubber) and a smooth wooden floor. Collingwood studios often have the right surface vibe without tearing your knees.
Cheat Sheets, Checklists, and Pitfalls to Dodge
Bookmark this section and keep it near your practice spot. It short-circuits decision fatigue.
Pre-session checklist (2 minutes)
- Shoes: clean soles that glide without slipping.
- Surface: smooth wood or vinyl; avoid clingy rubber floors.
- Camera at hip height; 1-2 meters back.
- Track queued at 0:45 (near first drop) so you get to the meat fast.
- Warm-up timer set for 5-8 minutes. Water nearby.
Technique cheat sheet
- Isolations: move 1 joint, freeze 0.5 count, breathe.
- Hits: sharp → instant relax; if it lingers, it’s a flex, not a hit.
- Waves: think “domino fall.” Each segment triggers the next.
- Glides: weight over the standing leg; toes and heels are your wheels.
- Freezes: squeeze core, still the eyes, then release on the next sound.
Musicality cheat sheet
- Half-time map: big moves on 1 and 3; hats get tiny details.
- Builds = grow, Drops = land, Silences = hold. Pick one per bar.
- Volume-matching: sound loudness = move size. Keep contrast.
5 fast fixes when things feel off
- You look rushed → cut your move list in half, keep only 1 big idea per bar.
- Hits look soft → exhale sharply on the hit, then flop the muscles loose.
- Glides stick → clean soles; shift weight fully before sliding.
- Movements bleed → practice “isolation + freeze” with a metronome.
- Blank face → set eye targets: floor 2 m ahead on 1, hand on 3.
Safety and longevity tips
- Knees track over toes, not collapsing inward on dips and glides.
- Dynamic warm-up beats static stretching before dance; save long holds for after. That aligns with common sports medicine guidance on performance and injury risk.
- Take zero-pain policy seriously: tingling or joint pain means stop and reset technique.
FAQ, Next Steps, and Troubleshooting For Different Dancers
Is dubstep dance the same as popping? Not the same, but popping is a core ingredient. Dubstep dance uses popping tools (hits, waves, dime stops) plus robotics, liquid, and animation, mapped to dubstep’s sound design and half-time feel.
How long to look decent? With three 60-minute sessions a week, most beginners show clean control and musical accents in 8-12 weeks. Film weekly to see progress you won’t feel in the moment.
Best shoes? Lightweight sneakers with a flat sole that slides on wood or vinyl. If your floor is sticky, try a dance sock cover over the forefoot.
Can I learn without a class? Yes. Use the practice plan here, film yourself, and grab a monthly private or jam session to get eyes on your movement. Freestyle circles teach you musical choices you won’t make alone.
What BPM should I start with? 70 BPM metronome (to learn half-time grid), then tracks at 138-142. Slower first, then more complex textures.
What about women in the scene? Plenty. Search out sets and workshops by female poppers and animators-your movement vocabulary expands when you see different body types solve the same musical problems.
What’s the biggest beginner mistake? Filling every second. The drop is heavy; let it breathe. One big idea per bar reads better than seven small ones.
Next steps by persona
- Total beginner: Do the 30-20-10 plan for 4 weeks. Use two tracks only so your body learns patterns. Post one clip per week to get feedback.
- Hip-hop dancer crossing over: Strip your groove to half-time and exaggerate freezes. Replace grooves-on-2-and-4 with accents on 1 and 3. Keep your swagger, just reschedule it.
- Trick-heavy mover: Cap yourself at two tricks per 8 counts. Focus on travel and breath control. The crowd will actually see your tricks this way.
- Content creator: Shoot at 60 fps for crisp slow-mo. Build 8-count chunks tied to known drops so viewers feel the sync instantly.
- Returning from injury: Prioritize waves and slow-mo, avoid deep knee dips and aggressive hits for two weeks. Pain-free range only.
Troubleshooting guide
- “I can’t find the beat.” Use a 70 BPM click; clap 1 and 3; step right on 1, left on 3 for two minutes. Add a chest hit only on 3.
- “My waves look messy.” Do wall waves: back against a wall, keep shoulders touching as the wave passes to prevent torso drift.
- “My hits hurt.” You’re over-squeezing. Hits are quick impulses, not long flexes. Think “tap” not “hold.”
- “Glides won’t budge.” Transfer 70% weight to the standing leg before sliding the other. If the sliding foot is weighted, it sticks.
- “I freeze then panic.” Pre-plan exits: after any freeze, either wave out, glide out, or head catch out. Pick one as your default.
Tracks to practice (progressive)
- Beginner: “Woo Boost” (Rusko), “Crave You (Adventure Club Remix)” - clear drops, space to breathe.
- Intermediate: “Eyes on Fire (Zeds Dead Remix)”, “Promises (Skrillex & Nero)” - richer textures for strobing and slow-mo.
- Advanced: “Riddim or Riot” (Virtual Riot), “Stomp” (Excision) - dense sound design, test your restraint.
Skill ladder for the next 90 days
- Weeks 1-4: Isolations, hits, waves; one 8-count combo on two tracks.
- Weeks 5-8: Add glides and dime stops; two 8-counts; start a freestyle playlist.
- Weeks 9-12: Texture play (robot/liquid/slow-mo); commit to one showcase clip at a jam or online.
If you run this plan, you won’t just “learn moves.” You’ll start hearing drops as decisions: land big, slide through, strobe the growl, or hold the silence. That’s the fusion-creativity plus rhythm-right where dubstep lives.

