The Foundation: Posture and Hand Shape
Most beginners make the same mistake right out of the gate. They sit too close to the bench or slouch forward, thinking it helps them reach the keys. It doesn't. It restricts your arm movement and invites tension that will eventually stop you from playing fast passages. Before you even touch a key, you need to master how you sit. Your elbows should be slightly in front of your torso, allowing your arms to hang freely. If you can’t swing your arms back and forth without hitting the fallboard, you are sitting too far forward.
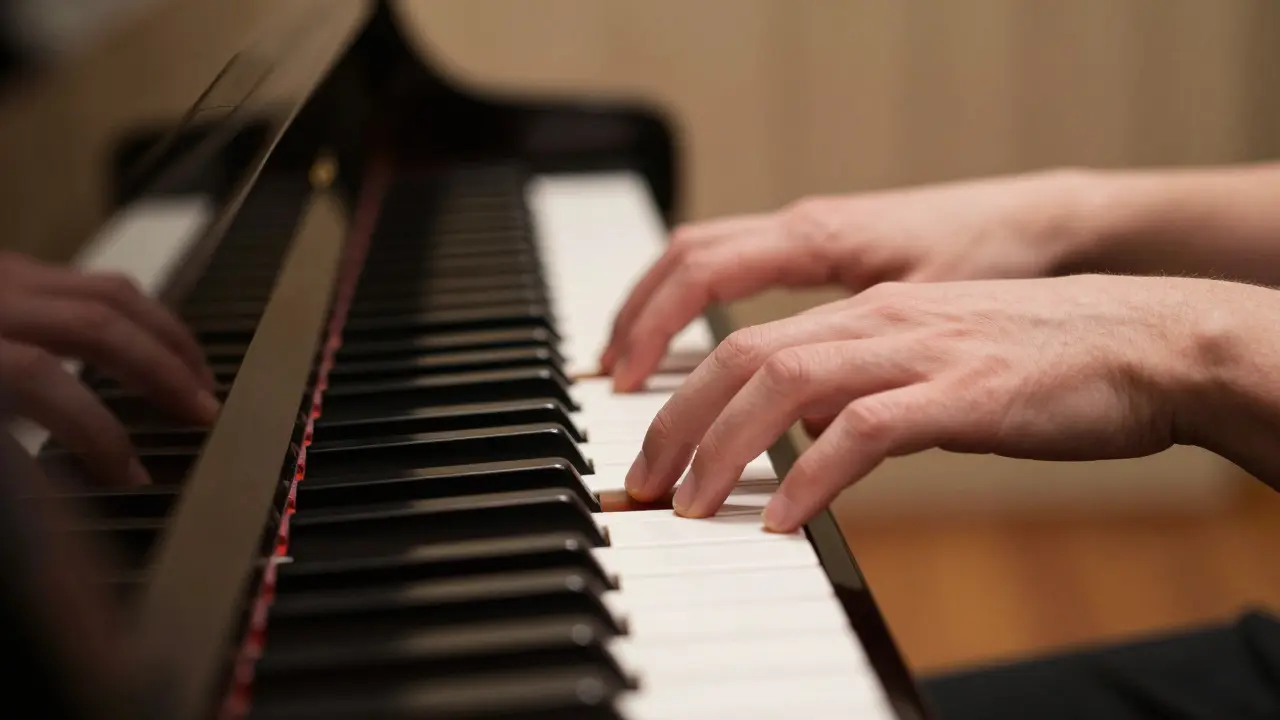
Once seated, look at your hands. The classic advice is to curl your fingers as if you are holding an orange. This isn't just a metaphor; it’s biomechanics. When your fingers are curved, the weight of your arm transfers through the fingertips, specifically the first joint closest to the nail pad. This creates a solid connection between your body and the instrument. If your fingers are flat, you lose that leverage. You end up pressing with muscle force rather than gravity, which leads to fatigue and uneven tone. Keep your wrists level with your knuckles. Dropping your wrist below the keyboard blocks the flow of energy from your forearm.
Finger Independence and Strength
Your pinky (finger 5) and thumb (finger 1) are naturally weaker than your middle three fingers. In piano playing techniques, addressing this imbalance is crucial for even articulation. To fix this, you don't just play scales; you practice specific isolation exercises. Try lifting each finger individually while keeping the others resting lightly on the keys. Start with finger 3, then 4, then 5. Notice how much effort it takes to lift the pinky without moving the ring finger? That’s the gap we need to close.
Chromatic exercises are excellent for this. Play C, C#, D, D# using fingers 1, 2, 3, 4. Then repeat with 2, 3, 4, 5. Go slowly. Listen to the volume of each note. Are they identical? If the fourth finger sounds softer, you aren't transferring enough weight. Use slow, deliberate movements to build the neural pathways that connect your brain to those weak digits. Over time, this builds the muscular memory required for complex chords where every voice needs to be heard clearly.
Arm Weight vs. Finger Pressure
New players often think loud means hard. They dig their nails into the keys. This produces a harsh, brittle sound and limits your dynamic range. The secret to a rich, singing tone is arm weight. Imagine your arm is a heavy pendulum. Let it drop onto the key. Feel the resistance of the hammer mechanism? That’s the limit. Once the key hits the bottom, any extra pressure does nothing but tense your muscles.
To practice this, try the "drop and hold" exercise. Lift your hand high above a single key. Drop it gently so the finger lands softly but firmly. Hold the note. Now, relax your shoulder completely. Does the note stay down? If yes, you are using gravity. If no, you are still pushing with your finger muscles. Shift your focus from "pressing" to "supporting." Your fingers act as pillars supporting the weight of your arm, not pistons driving into wood. This technique allows you to play fortissimo without screaming, creating a powerful, resonant sound that fills the room.
Mastering the Pedals
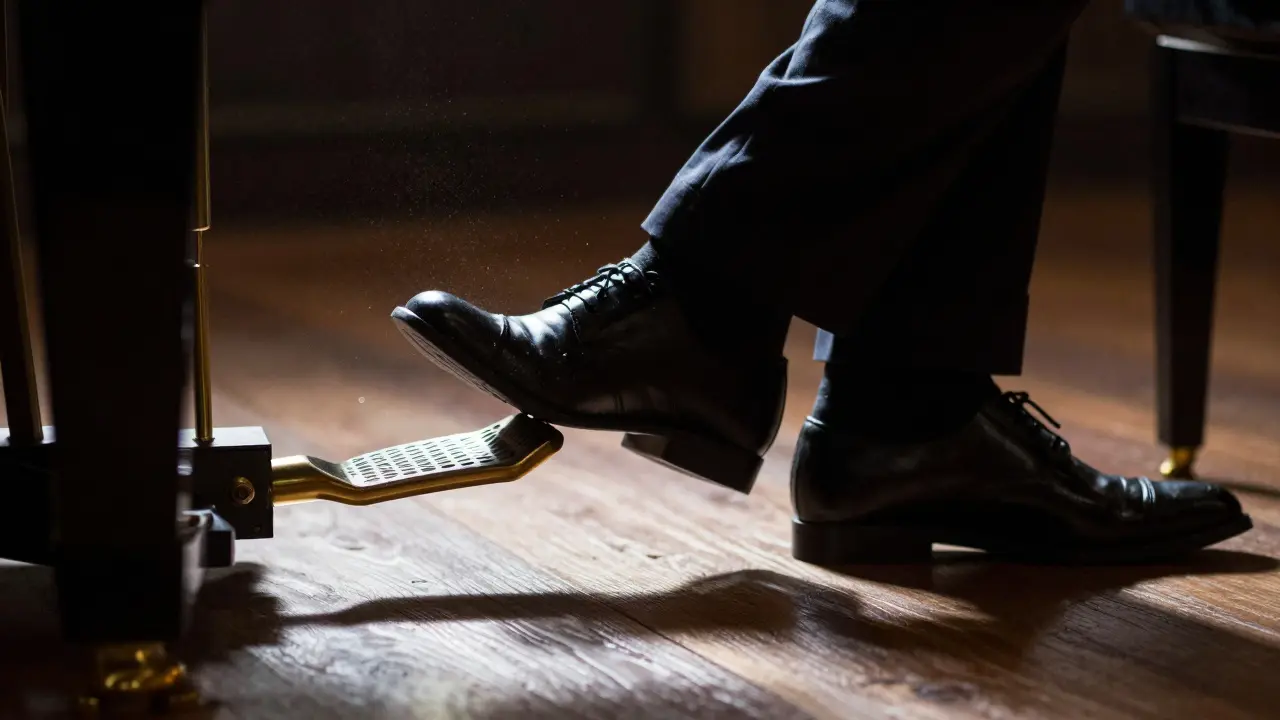
The sustain pedal (damper pedal) is often called the "soul" of the piano, but misuse turns it into mud. Beginners tend to keep their foot hovering or press it down and leave it there. This blurs harmonies together, making clean chord changes impossible. The golden rule is: change the pedal exactly when you change the harmony.
Practice "half-pedaling." Press the pedal down fully, then lift it halfway. At this point, the dampers rest lightly on the strings, clearing the previous notes while retaining some resonance. This technique is essential for Romantic era music, like Chopin or Liszt, where you want a lush background without losing clarity in the melody. Also, work on syncopated pedaling. Press the pedal *after* you strike the new chord, not before. This prevents the old chord from bleeding into the new one. It requires precise coordination between your right hand and right foot, so start with simple two-chord progressions and move slowly until the timing feels automatic.
Advanced Touch and Articulation
As you progress, you’ll encounter different articulations: legato, staccato, and portamento. Legato means connected notes. To achieve true legato, especially in octaves or wide intervals, you use finger substitution. For example, in a scale, you might cross the thumb under the third finger. But in arpeggios, you might slide the second finger over the thumb. This keeps the sound unbroken.
Staccato isn't just about short notes. There’s wrist staccato, where the bounce comes from the wrist joint, ideal for light, bouncy passages. Then there’s arm staccato, used for heavy, dramatic accents where the entire arm lifts and drops. Portamento involves sliding from one pitch to another, usually by gliding the hand across black keys. These nuances separate competent players from expressive musicians. Listen to recordings of Vladimir Horowitz or Martha Argerich. Notice how their staccato isn't uniform; it varies based on the emotional context of the phrase.

Virtuoso Speed and Endurance
Speed is a byproduct of relaxation, not tension. If you’re stiff, you’re slow. To develop virtuoso speed, break passages into tiny chunks-three or four notes at a time. Practice these chunks slowly, ensuring perfect finger placement. Then, gradually increase the tempo only when you can play them effortlessly. Use a metronome, but don’t obsess over it. Focus on the feeling of ease.
Endurance comes from efficient movement. Avoid unnecessary motion. If your hand jumps three inches to hit the next chord, you’re wasting energy. Minimize the distance. Keep your movements economical. Practice Hanon exercises or Czerny studies daily, but always with a focus on smoothness, not just velocity. Over time, your muscles adapt, and what once felt difficult becomes second nature. Remember, consistency beats intensity. Ten minutes of focused, relaxed practice daily is better than an hour of strained grinding once a week.
| Technique Aspect | Beginner Focus | Advanced Focus |
|---|---|---|
| Posture | Sitting straight, finding bench height | Dynamic adjustment for different registers |
| Finger Strength | Basic scales, five-finger patterns | Isolation of weak fingers, chromatic drills |
| Pedaling | On/off with chord changes | Half-pedaling, flutter pedaling, syncopation |
| Tone Production | Pressing keys firmly | Arm weight transfer, varying attack speeds |
Common Pitfalls to Avoid
One major trap is rushing. We all want to play the flashy pieces quickly. But speed without control is noise. Another pitfall is ignoring the left hand. Many students treat the left hand as an afterthought, leading to rhythmic instability. Practice hands separately until each part is flawless. Only then combine them. Also, watch out for shoulder tension. If your shoulders creep up toward your ears, stop. Shake them out. Tension travels down the arm and kills your tone. Finally, don’t neglect listening. Record yourself. You’ll hear mistakes your ears miss in real-time. Critical listening is half the battle in mastering piano techniques.
How long does it take to learn basic piano techniques?
For most adults practicing 30 minutes daily, basic posture and simple finger independence can be established in 3-6 months. However, mastery is a lifelong process. Consistency matters more than duration. Short, focused sessions yield better results than infrequent marathons.
Do I need to practice Hanon exercises?
Hanon exercises are useful for building finger strength and evenness, but they should not be your only practice tool. Combine them with repertoire and scales. Always prioritize musicality over mechanical drilling. If you feel pain, stop immediately.
What is the best way to improve pedaling?
Start by practicing pieces without the pedal to ensure your fingers produce clear tones. Then, add the pedal sparingly. Use a mirror to check your foot position. Practice half-pedaling on sustained chords to find the sweet spot where resonance remains but blur is minimized.
Why do my wrists hurt when I play?
Wrist pain usually indicates tension or poor posture. Check if your wrists are dropping below the keyboard or if you’re pressing too hard. Relax your shoulders and ensure you’re using arm weight rather than finger force. If pain persists, consult a teacher or medical professional to prevent injury.
Can I learn advanced techniques without a teacher?
While possible, it’s challenging. A teacher provides immediate feedback on posture and tension, which is hard to self-diagnose. Online resources help, but periodic lessons ensure you’re developing healthy habits. Without guidance, you risk ingraining bad techniques that are difficult to unlearn later.


